
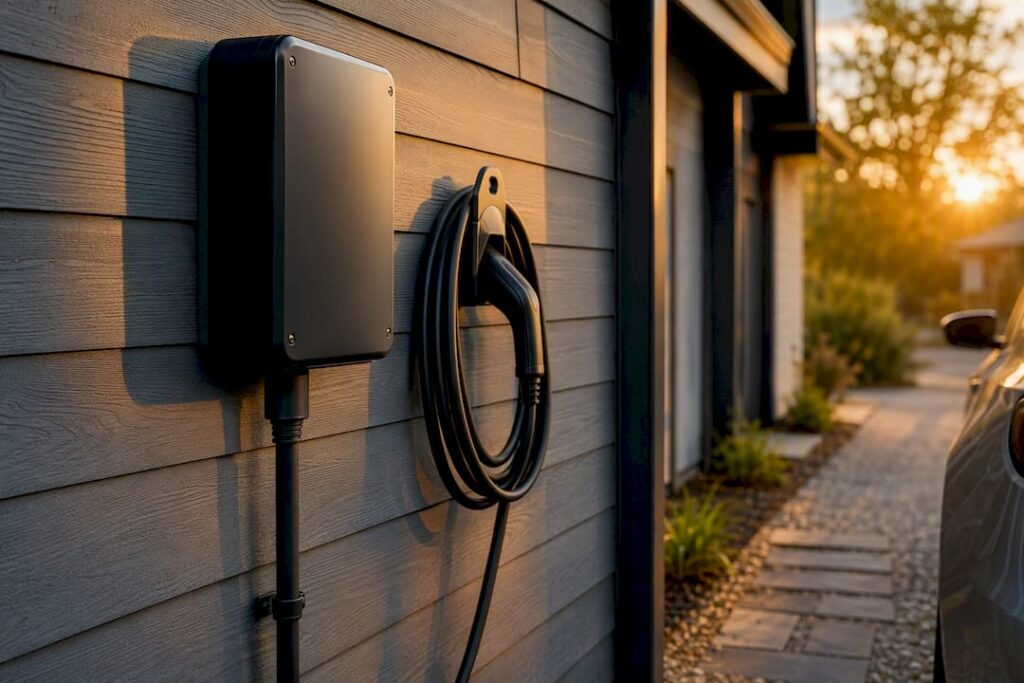
Yes, you can safely install an EV charger outside your home, and for most driveways, carports, and detached garages, it’s the more practical choice. Outdoor EV charger installation works when you pair weatherproof, outdoor-rated equipment with proper electrical work done by a licensed electrician following NEC Article 625 and your local building code. The equipment side is non-negotiable: your charger needs a NEMA 3R, 4, or 4X rating to handle rain, dust, and temperature swings without becoming a safety hazard.
Before your electrician arrives, run through this checklist:
- Confirm your parking location and whether the charging cable will actually reach your car
- Check the charger’s NEMA rating on the spec sheet (3R minimum, 4X for coastal or high-corrosion areas)
- Measure the distance from your electrical panel to the mounting point
- Note your panel’s spare capacity, or at least whether it looks full
- Consider whether trenching or conduit runs will be needed
- Expect to pull a permit and schedule an inspection
Pro Tip: Take photos of your parking spot, your electrical panel, and the label inside the panel door before you call for quotes. Electricians can give far more accurate estimates from good photos than from a phone description.
Key Takeaways
Outdoor EV charger installation is safe and reliable when the equipment carries a NEMA 3R, 4, or 4X rating and a licensed electrician follows NEC Article 625 for load calculation, breaker sizing, and grounding.
| Point | Details |
|---|---|
| Match NEMA rating to exposure | Use 3R for covered spots, 4 for open driveways, 4X near coastal or high-salt environments. |
| Follow the 125% breaker rule | Size the breaker at 125% of the charger’s continuous load per NEC Article 625. |
| Budget for distance, not just the unit | Trenching and long wire runs from the panel drive cost more than the charger itself. |
| Weatherproof every penetration | Seal conduit entries and mount cable holsters 36 to 54 inches above grade. |
| Work with a full-service installer | Alpha Solar Solutions handles permits, trenching, panel upgrades, and the final install for San Antonio homeowners. |
Table of Contents
- Is an Outdoor Charger Right for Your Situation?
- What Equipment Do You Need for an Outdoor Setup?
- What Will the Electrician Actually Do?
- How Long Does It Take and What Will It Cost?
- How Do You Weatherproof an Outdoor Charger for the Long Term?
- How Do You Secure the Charger and Manage the Cable?
- Permits, Inspections, and Rebate Programs
- How Do You Choose a Qualified Electrician?
- How Alpha Solar Solutions Handles Outdoor EV Charger Installation
- Sources
Is an Outdoor Charger Right for Your Situation?
If you don’t have a garage, or your garage is already packed with storage, mounting your charger outside solves a real problem. Outdoor installation gives you flexibility on shared driveways, avoids drilling through garage drywall, and lets you place the unit exactly where your car actually parks.
The trade-off is cost and complexity. Weatherproof enclosures, longer wire runs, and sometimes trenching push the price above a simple garage-wall install, and outdoor circuits require more rigorous GFCI protection.
Match your setup to the right minimum rating:
- Carport (partial cover): NEMA 3R can work, but NEMA 4 is safer against wind-driven rain
- Open driveway, no cover: NEMA 4 minimum
- Detached garage: NEMA 3R indoors on the exterior wall, assuming the wall is protected from direct weather
- Coastal or high-humidity climate: NEMA 4X to resist corrosion
Pro Tip: Wind-driven rain reaches under most carports, so don’t assume a roof overhead means you can use a lower-rated enclosure. When in doubt, size up.
What Equipment Do You Need for an Outdoor Setup?
Most homes need a Level 2 charger for practical outdoor use. Level 1 runs on a standard 120V outlet and delivers 3 to 5 miles of range per hour, which is too slow for daily driving. Level 2 chargers run on 240V and deliver 20 to 40 miles per hour of charging, and that jump is why nearly every outdoor residential install uses Level 2 equipment.
You’ll also decide between hardwired and plug-in configurations. A hardwired unit connects directly to a dedicated circuit with no receptacle in between, while a plug-in unit uses a NEMA 14-50 outlet rated up to 40 amps. Hardwiring is generally the better call for permanent outdoor installations, especially at 48 amps and above, because it removes the receptacle as a point of failure and handles higher continuous loads more reliably.
If your charger uses a plug-in connector rather than a fixed cable, it will use a J1772 connector, the standard for nearly all non-Tesla EVs sold in the US.
The enclosure rating you choose determines whether your charger survives its first real storm. NEMA 3R protects against rain and ice but assumes some shelter. NEMA 4 handles direct wind-driven rain and hose-down conditions. NEMA 4X adds corrosion resistance for salt air and industrial exposure. Buying the wrong one is the single most common outdoor installation mistake.
Before buying, run through this checklist:
- Confirm the NEMA/IP rating on the actual spec sheet, not just the marketing page
- Check cable length; most residential units run 20 to 25 feet
- Look for models with an integrated holsters or budget roughly $20 to $40 for one separately, since holsters keep the connector off wet pavement
For a side-by-side look at specific models and their outdoor suitability, our guide to the best home EV chargers breaks down connector types, cable lengths, and ratings.
What Will the Electrician Actually Do?
Your electrician’s first job is a load calculation, checking whether your existing panel has enough spare capacity for a Level 2 charger without overloading the system. If it doesn’t, you’ve got options: a smaller charger, a load management device that shares capacity with other appliances, a subpanel, or a full service upgrade.
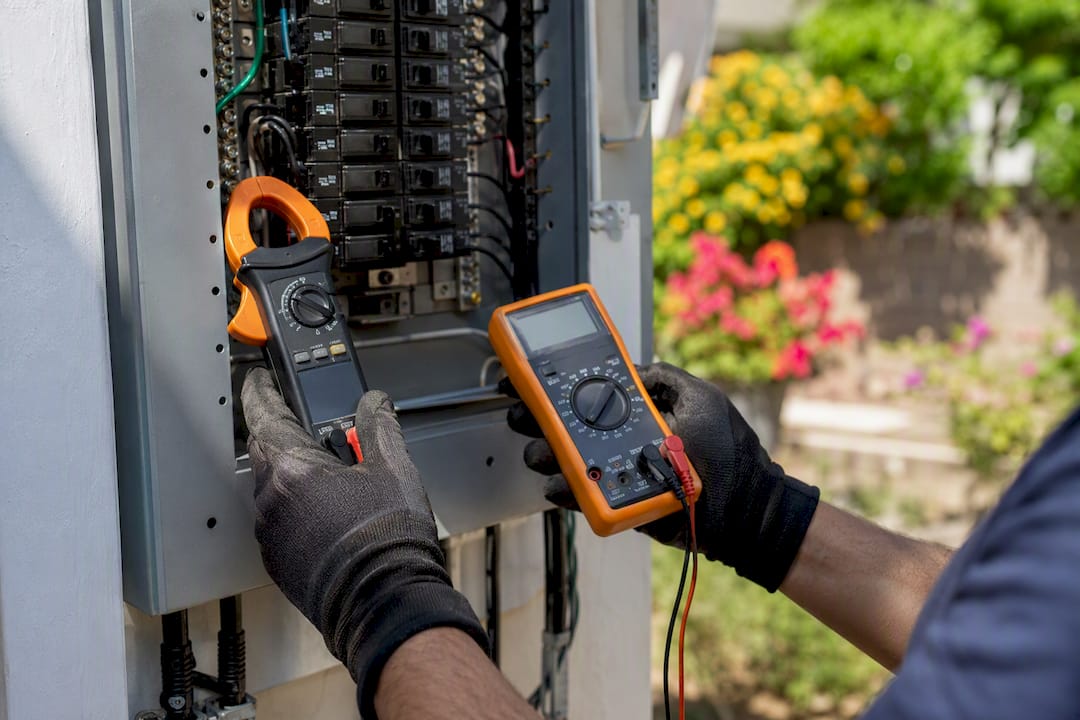
Breaker sizing follows a fixed rule under NEC Article 625: continuous loads get sized at 125% of the charger’s rated draw. A 40 amp continuous charger needs a 50 amp breaker, not a 40 amp one. This isn’t a suggestion; it’s code, and it’s one of the first things an inspector checks.
Outdoor circuits also need GFCI protection, either as a breaker in the panel or built into the charging equipment itself.
If your charger already has integrated GFCI protection, adding a second GFCI breaker upstream in the panel can cause nuisance tripping. A good electrician accounts for this during the load and protection design instead of stacking redundant protection.
For the physical wiring, expect:
- Schedule 40 or 80 PVC conduit for above-grade runs
- Schedule 40 PVC at proper burial depth for underground runs
- Liquid-tight flexible metal conduit (LFMC) for short transitions near the charger itself
- Weatherproof junction boxes and sealed penetrations everywhere conduit enters the house
Detached garages or structures away from the main panel typically need their own disconnect switch or subpanel, giving you a way to cut power locally without walking back to the main panel.
How Long Does It Take and What Will It Cost?
A straightforward install, panel nearby, no upgrades needed, typically takes a licensed electrician 2 to 4 hours. Complex jobs involving trenching, panel upgrades, or a subpanel can stretch to a full day or require a second visit for the inspection appointment.
The realistic project timeline looks like this:
- Site photos and initial quote request
- Electrician site visit and load calculation
- Permit application submitted to your local jurisdiction
- Rough-in wiring, conduit installation, and trenching if needed
- Final connection, testing, and inspection
Cost is driven almost entirely by distance from the panel and how much digging is involved, not by the charger itself. Trenching and long wire runs are consistently the biggest cost driver, often adding more to the bill than a premium charger unit would.
| Scenario | Typical Installed Cost |
|---|---|
| Wall-mounted, adjacent to panel | Moderate cost reflective of proximity |
| Standard outdoor run, moderate distance | Higher cost reflecting moderate distance |
| Long driveway or pedestal with trenching | Highest cost typically due to trenching and distance |
| Full panel upgrade required | Substantial additional cost based on upgrade complexity |
Consider a homeowner installing a 50 amp Level 2 charger on a 60-foot run with conduit and a shallow trench. That job typically lands in the $1,800 to $2,800 range once you add the charger unit, conduit, trenching labor, and permit fees, and takes a full day rather than a quick afternoon visit. Outdoor installs generally run about $500 more than an equivalent garage install purely because of the weatherproofing and longer runs.
How Do You Weatherproof an Outdoor Charger for the Long Term?
Every wall penetration where conduit enters your house needs a sealed weatherhead or properly sealed fitting; a gap here is how water gets behind your siding and into your electrical panel. Use outdoor-rated junction boxes throughout, and seal joints with silicone or mastic where the manufacturer specifies it.
Keep the connector and cable end off the ground entirely. A cable holster mounted 36 to 54 inches above grade prevents the connector from sitting in puddles and cuts down on UV degradation to the cable jacket over time. Match your enclosure rating to your actual exposure, and lean toward NEMA 4X if you’re near the coast or anywhere road salt is common in winter.
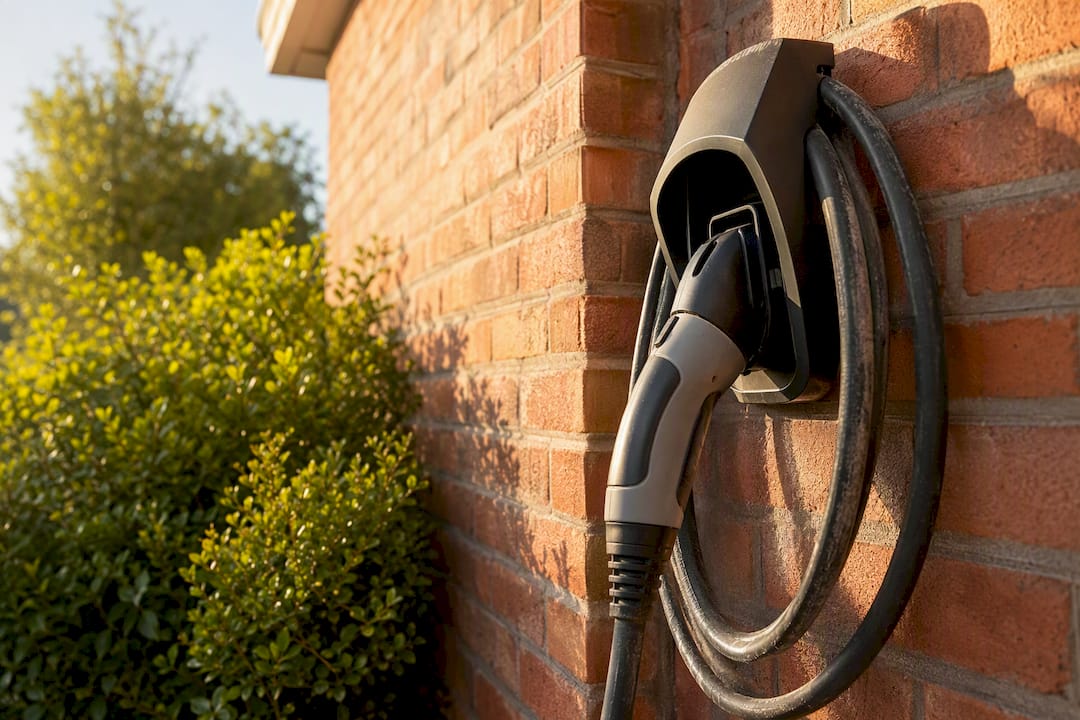
Set a yearly reminder to check three things: the conduit seals and silicone joints for cracking, the cable jacket and holster for wear, and the GFCI test button, which should trip and reset cleanly per the manufacturer’s instructions.
Pro Tip: Do this inspection in early spring after freeze-thaw cycles have had their chance to crack any weak seals. Catching a hairline crack in April is a five-minute fix. Catching it in August after months of water intrusion usually isn’t.
How Do You Secure the Charger and Manage the Cable?
An unsecured cable lying across a driveway is both a tripping hazard and an invitation for theft. Mount a lockable holster at a height between 36 and 54 inches, which keeps the connector reachable but off the pavement and out of the way of foot traffic.
For added security:
- Use tamper-proof fasteners on the charger housing itself
- Install motion-sensor lighting near the charging area
- Choose a charger with a networked lock feature or a lockable connector cover if theft is a concern in your area
Pro Tip: A cheap motion light does more to deter tampering than most locks. Most people casing a driveway move on the moment a light snaps on.
Permits, Inspections, and Rebate Programs
Most jurisdictions require an electrical permit for any new 240V circuit, and skipping that step can jeopardize your homeowner’s insurance if something goes wrong later. Inspection isn’t just bureaucracy: it’s what protects your rebate eligibility and your coverage.
Check ENERGY STAR’s incentive resources for current utility and state programs in your area, since availability and amounts vary by location.
Some cities run curbside charging programs for residents who park on the street rather than in a driveway. Boston’s curbside EV charging program is one example, and similar municipal programs exist in cities like Seattle and Portland for renters or multifamily residents without dedicated parking.
How Do You Choose a Qualified Electrician?
Before signing anything, ask these questions:
- Are you licensed, and can I see examples of outdoor EV charger installs you’ve completed?
- Do you follow NEC Article 625 for load calculations and breaker sizing?
- Will you pull the permit and schedule the inspection yourselves?
- Can I get a written estimate with line items for trenching, conduit, and any panel work?
Watch for these red flags:
- An electrician who offers to skip the permit process
- A fixed quote given without ever visiting the site
- Indoor-rated equipment recommended for an exterior mount
- Any suggestion of bypassing or removing GFCI protection
Get at least two quotes, and ask each electrician for photos of prior outdoor installations. A contractor proud of their work will have them ready.
Author perspective: hire now or prepare for later?
If you drive daily, your panel has room, and your parking spot is fixed, hire an electrician now rather than living with slow Level 1 charging. But if a full install doesn’t make sense yet, running conduit or installing a NEMA 14-50 outlet during other exterior work, like new siding or a driveway repour, cuts your future install cost substantially. The wiring is the expensive part; the charger itself is easy to add later.
How Alpha Solar Solutions Handles Outdoor EV Charger Installation
Alpha Solar Solutions is the alternative to piecing together your own electrician, permit runner, and trenching crew for an outdoor EV charger installation in San Antonio. We handle the whole job under one roof: load calculation, permit filing, trenching where needed, panel upgrades if your service is tight, and the final weatherproof install, all in compliance with NEC Article 625.
Because we already run electrical work for solar and battery systems across the San Antonio area, we know how to size a circuit for a 240V charger without disrupting your existing panel setup, and we can talk through pairing your charger with a home solar system if you’re looking to offset the extra electricity draw. If your EV charger install requires moving or reattaching solar panels first, we handle that too.
Ready to see what your specific driveway or carport setup will cost? Request a free quote or site visit and we’ll walk your property before we ever write up a number.
Sources
- Charging Electric Vehicles at Home — Alternative Fuels Data Center
- Getting started with home EV charging — EPA
- Should You Install an Outdoor EV Charger? — EnergySage