
TL;DR:
- Most solar projects fail long before installation due to rushed or incomplete planning, not during actual setup. Proper site assessment, permit approval, and system sizing are crucial to ensure long-term performance and avoid costly redesigns. Starting with detailed data reviews, multiple bids, and understanding local regulations significantly increases project success and system reliability.
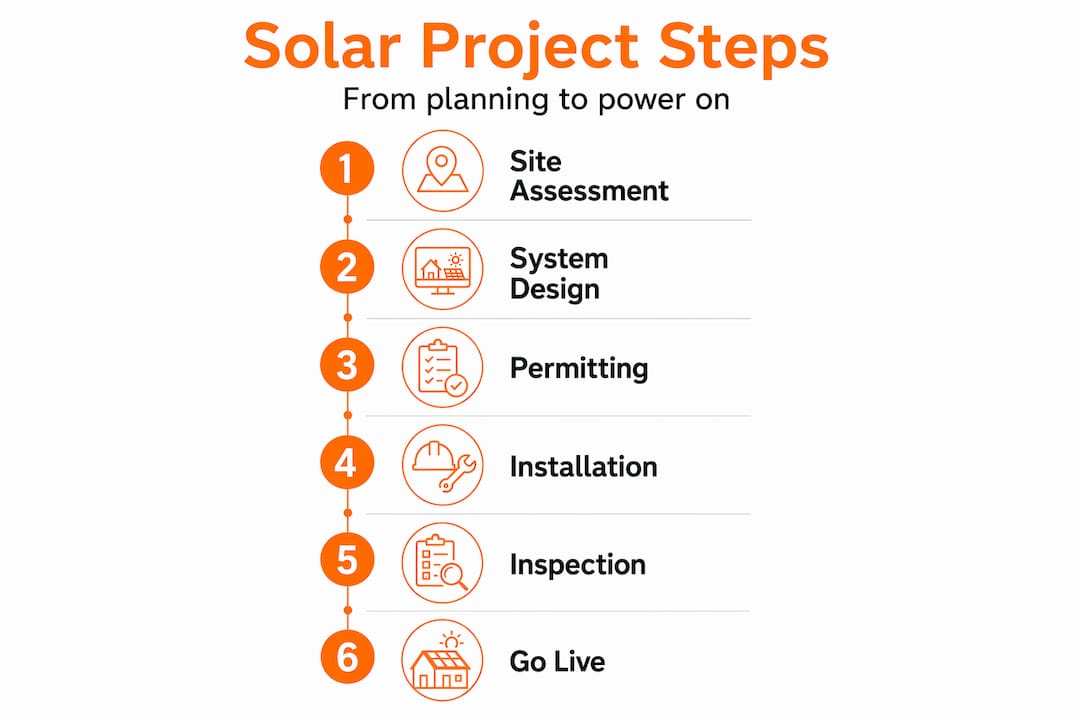
Most solar projects that go sideways don’t fail during installation. They fail long before anyone climbs on the roof, because the planning was rushed, incomplete, or skipped entirely. Knowing how to plan a solar project from the start saves you from expensive redesigns, permit delays, and a system that underperforms for the next 25 years. This guide walks you through every stage, from your first electricity bill review to the day your system powers on, so you can move forward with confidence and clarity.
Table of Contents
- Key takeaways
- How to plan a solar project: prerequisites and site assessment
- Designing and sizing your residential solar system
- Permitting, contractor selection, and financing
- Installation, inspection, and ongoing maintenance
- My honest take on what most homeowners get wrong
- Ready to put your solar plan into action?
- FAQ
Key takeaways
| Point | Details |
|---|---|
| Start with your usage data | Pull 12 months of electricity bills before anything else to accurately size your system. |
| Shading is a real threat | Even minor shading can cut output significantly without the right panel layout or electronics. |
| Permits take time, plan for them | Using automated tools like SolarAPP+ can cut permitting time by nearly a third. |
| Get multiple bids | Compare at least three installer quotes on the same scope before signing any contract. |
| Maintenance keeps performance up | Schedule regular cleaning and monitoring reviews to protect your long-term energy production. |
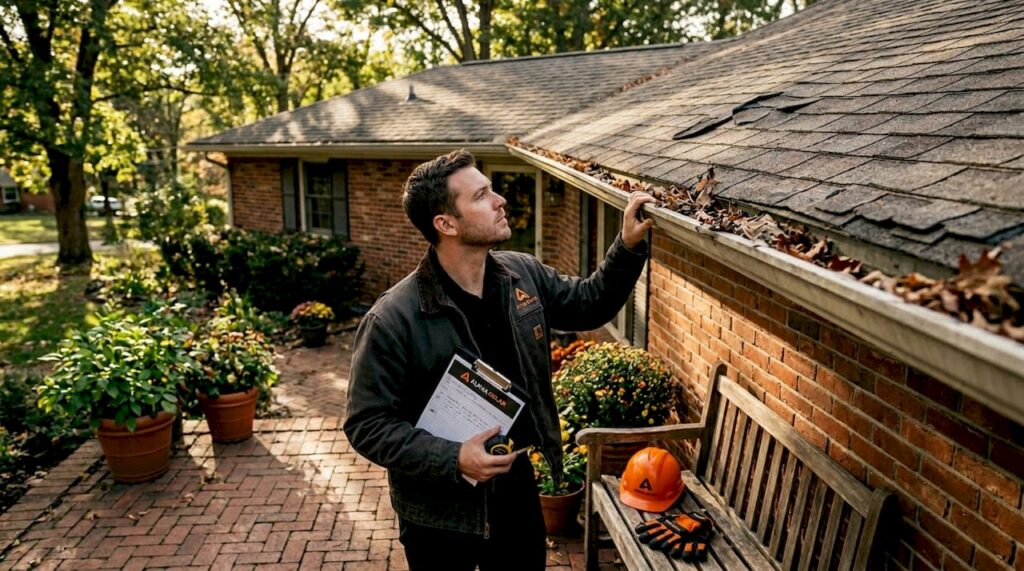
How to plan a solar project: prerequisites and site assessment
Before you think about panels or inverters, you need raw data about your home. Good planning starts with gathering the right information, not with browsing product catalogs.
Here’s what to collect and assess before you go any further:
- 12 months of electricity bills. You need to know your annual kilowatt-hour (kWh) consumption. One month is not enough because seasonal swings in Texas can be dramatic. Pull every bill for the past year.
- Roof condition and age. If your roof is more than 15 years old or shows signs of wear, address it before installing solar. Removing and reinstalling panels for a roof replacement later costs more than combining both projects now. Check out roof and solar planning for what to look for before installation.
- Roof orientation and pitch. South-facing roofs at a 15 to 40 degree pitch produce the most energy in San Antonio. East and west-facing roofs work too, just with slightly lower production.
- Available roof space. Measure usable square footage after subtracting HVAC units, vents, skylights, and required setbacks from roof edges and ridges.
- Shading analysis. Observe your roof at different times of day and different seasons. Note trees, chimneys, neighboring structures, and anything that casts a shadow. Even 5 to 10% shading can disproportionately cut output across an entire string of panels without module-level power electronics.
- Electrical panel capacity. Your main breaker panel must have room for a solar interconnection. A full or outdated panel may need an upgrade before installation can proceed.
- Local codes and HOA rules. Some San Antonio neighborhoods have aesthetic guidelines. Most Texas HOAs cannot legally block solar, but they can influence placement. Verify early.
Roof condition and electrical readiness are key data points that must be confirmed before your design is finalized. Skipping this step is the most common reason projects get redesigned mid-stream.
Pro Tip: Request a shading report from your installer using tools like Aurora or PVWatts. A visual shading analysis beats a verbal estimate every time.
Designing and sizing your residential solar system
Once your site data is in hand, you can move into system design. A typical residential solar design follows a 12-step process from load analysis to permit-ready plans. Here is how that translates into practical steps for you as a homeowner:
- Calculate your annual energy consumption. Total your kWh usage from 12 months of bills. A typical San Antonio home uses between 12,000 and 18,000 kWh per year.
- Determine your solar production potential. San Antonio averages about 5.5 peak sun hours per day. That number, combined with system efficiency, tells you how large your system needs to be.
- Size your system. Divide your daily kWh need by your peak sun hours, then adjust for inverter and panel efficiency losses (typically 80 to 85%). For detailed guidance specific to San Antonio, see how to size your system.
- Select your solar panels. Residential systems typically use 400 to 430-watt monocrystalline panels. Most homes need between 12 and 20 panels. Panel count depends on wattage and roof space.
- Choose your inverter type. String inverters are cost-effective for unshaded roofs. Microinverters or power optimizers work better when shading is present or roof sections face different directions.
- Design the panel layout. Place panels to maximize sun exposure while respecting local fire code setbacks (typically 3 feet from ridge and edges). Use your roof measurements to create an accurate layout.
- Configure electrical stringing and wiring. This determines how panels connect to the inverter and ultimately to your home’s electrical system. This step requires NEC 690 code compliance.
- Decide on battery storage. Adding a battery backup system gives you power during outages and lets you store excess solar energy. It increases upfront cost but adds real value in areas with frequent outages or time-of-use utility rates.
- Run a yield simulation. Software tools forecast annual energy production based on your location, panel specs, tilt, and shading. This number sets realistic expectations for bill savings.
Here is a quick reference for typical residential system specs:
| System size | Estimated panels | Avg. annual output (San Antonio) | Best for |
|---|---|---|---|
| 5 kWp | 12 to 13 panels | ~8,000 kWh | Smaller homes, low usage |
| 7 kWp | 17 to 18 panels | ~11,200 kWh | Mid-size homes |
| 10 kWp | 23 to 25 panels | ~16,000 kWh | Large homes, EV charging |
Pro Tip: A solar design example can help you visualize how different system sizes translate to real bill savings before you commit to anything.
Permitting, contractor selection, and financing
This stage is where many homeowners feel overwhelmed. The good news is that with the right approach, it is manageable and predictable.
Understanding permits
Solar installations require a building permit and, in most cases, an electrical permit. Typical permit packages include a site plan, roof plan, electrical diagrams, equipment specifications, and code compliance documentation. Permit packages must comply with NEC 690 and any local building or fire codes. Battery systems carry additional requirements on top of those.
Traditional permitting in many jurisdictions takes over a month. SolarAPP+, developed by NREL, cut median permitting time from 47.5 days to 33 days, a 31% reduction, by automating code compliance checks and issuing instant approvals for qualifying systems. If your local jurisdiction uses SolarAPP+, that timeline improvement is real and significant.
Choosing the right installer
Treat this decision the way you would any major home purchase. SEIA guidance is direct: get multiple bids, compare contracts on equal terms, and verify installer credentials before signing anything. Here is what to check:
- Valid state electrical contractor license and solar-specific certifications (NABCEP preferred)
- Proof of general liability and workers’ compensation insurance
- Verified reviews on Google, the Better Business Bureau, and local community platforms
- Clear warranty terms: panel product warranty (typically 25 years), performance warranty, and workmanship warranty from the installer
- Clarity on who handles permitting and utility interconnection
For a closer look at what solar contracts actually contain and what to watch for, an independent contract review is worth reading before you sign.
Pro Tip: Never compare bids on price alone. A $2,000 lower bid that uses off-brand panels and offers no workmanship warranty is not a deal. Compare system size, equipment brands, warranty depth, and financing terms.
Financing your project
Your three main options are cash purchase, solar loan, and lease or power purchase agreement (PPA). A cash purchase gives you full ownership and the highest long-term return. A solar loan lets you own the system while spreading payments over time, typically 10 to 25 years. Leases and PPAs have lower upfront costs but you do not own the system, which limits flexibility if you sell your home.
Work through the numbers on each option with your installer before deciding. Make sure you understand what happens to the contract if you sell your home.
Installation, inspection, and ongoing maintenance
Once permits are approved and your contract is signed, the physical work begins. Knowing what to expect keeps the process from feeling disorganized.
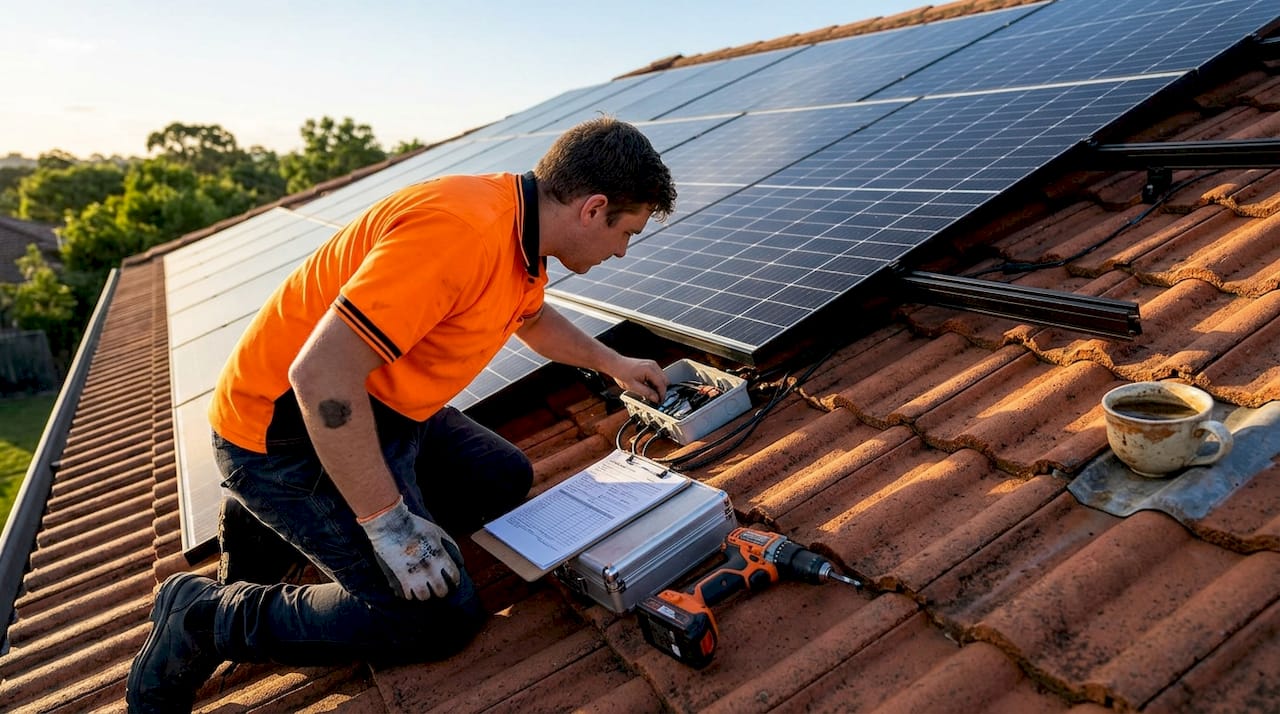
What happens during installation
Most residential solar installations take one to three days of actual labor, though the full project timeline from signed contract to a live system often runs four to twelve weeks when you account for permitting and utility interconnection.
Key steps during this phase:
- Final site verification by the installation crew (confirming roof condition, electrical panel readiness, and panel placement against the approved design)
- Mounting hardware installation on the roof structure
- Panel placement and electrical wiring to the inverter
- Inverter installation and connection to your main electrical panel
- System testing before inspections begin
If your roof needs replacement, doing it before solar installation saves both time and money. Installing panels on a roof that needs work in two years means paying for detach and reinstall later.
Inspections and going live
After installation, your system must pass a final inspection by the local building authority. Many jurisdictions also require a utility inspection before granting permission to operate (PTO). This is the moment your system is officially authorized to connect to the grid and begin offsetting your bill.
Clarify post-installation support with your installer before your system goes live. Understand who to call for monitoring alerts, inverter issues, and warranty claims.
Keeping your system performing
Solar panels are low maintenance, not no maintenance. Here is what a solid maintenance routine looks like:
- Monitor your system output monthly through your inverter app. A sudden drop in production signals a problem worth investigating.
- Schedule professional panel cleaning once or twice a year. Dust, pollen, and bird droppings reduce output more than most homeowners realize.
- Trim trees that grow into your solar window over time.
- Have a technician inspect your system every three to five years for wiring, mounting hardware, and inverter health.
Consistent upkeep keeps your system producing at or near its original rated output for decades.
My honest take on what most homeowners get wrong
I’ve reviewed a lot of residential solar projects over the years, and the pattern of mistakes is surprisingly consistent. Most problems don’t come from bad equipment. They come from a planning process that was either too rushed or too shallow.
The biggest one I see is underestimating shading. Shading is a design constraint, not a minor annoyance. A tree that barely grazes one panel in the afternoon can cut the output of an entire string significantly without the right inverter technology. I’ve seen systems producing 25% below projections because nobody documented a neighbor’s roofline during the design phase.
The second issue is treating the permit phase as a formality. Getting your design aligned with automated permitting tools from the start, rather than retrofitting a design to pass review, shaves weeks off your timeline. That matters when you’re paying a utility bill every month while your system waits for approval.
My strongest advice: start with a structured solar consultation with an installer who does a real site assessment, not just a satellite image review. The quality of that first conversation tells you everything about how the rest of the project will go. Price matters, but the expertise behind the quote matters more.
— Anthony
Ready to put your solar plan into action?
If you’ve read this far, you’re already ahead of most homeowners who go into solar with only a sales pitch and a monthly payment figure. Planning done right leads to a system that actually delivers what it promises.
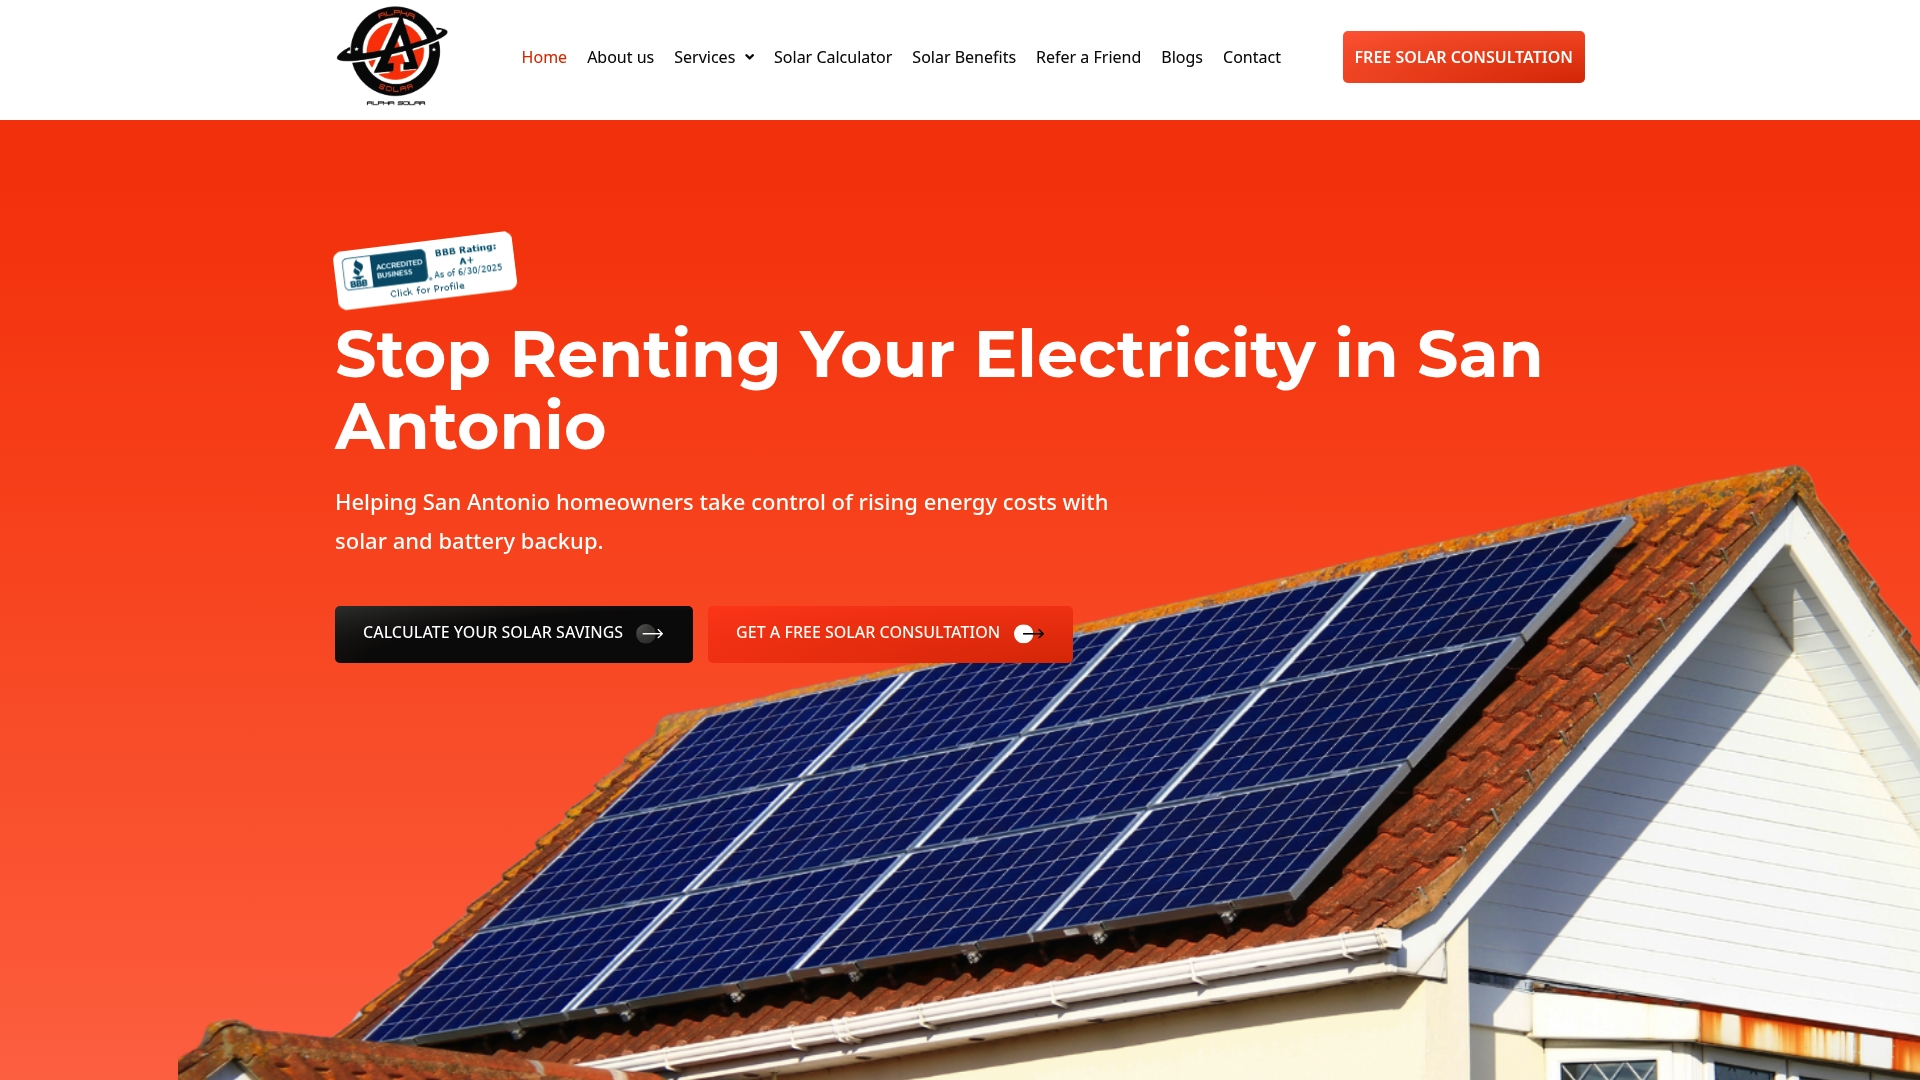
At Alphasolarsa, we walk San Antonio homeowners through every stage of the process, from your first site assessment and system design to pulling permits and final commissioning. Our team handles the details so you don’t have to figure it out alone. Whether you’re starting from scratch or looking for a second opinion on an existing quote, we’re ready to help. Explore our residential solar installation services and schedule a consultation to get a plan built around your home, your usage, and your goals.
FAQ
How long does it take to plan and install a solar project?
From signing a contract to a live system, most residential solar projects take four to twelve weeks, depending on permitting timelines and utility interconnection in your area.
How do I know what size solar system I need?
Start with 12 months of electricity bills to find your annual kWh consumption, then factor in your local peak sun hours. A qualified installer will size your system from that data.
What permits are required for a residential solar installation?
Most installations require a building permit and an electrical permit. Your permit package will typically include a site plan, electrical diagrams, equipment specs, and documentation showing compliance with NEC 690.
Can shading really reduce my solar output that much?
Yes. Even 5 to 10% shading can cut output significantly across a string of panels. Microinverters or power optimizers reduce this impact by allowing each panel to operate independently.
Should I get more than one solar quote?
Absolutely. SEIA recommends getting multiple bids and comparing them on equal terms, checking equipment specs, warranty depth, installer credentials, and contract terms, not just the total price.