
TL;DR:
- Rising electricity rates in San Antonio drive homeowners to install solar for long-term savings.
- Proper site assessment and maintenance are essential to maximize solar system efficiency and ROI.
- Local laws protect homeowners from HOA bans, enabling easier solar panel installation.
If your CPS Energy bills keep climbing every summer, you’re not imagining it. San Antonio homeowners are feeling real pressure from rising electricity rates, and more of them are turning to solar power as a lasting fix. A well-designed solar system can cut your monthly bill dramatically, and with today’s incentives, the numbers make more sense than ever. This guide walks you through every key step, from figuring out if your home is a good fit, to understanding costs, handling permits, and keeping your system running at its best for decades to come. A typical 11 kW system can save you up to $79,000 over 25 years.
Table of Contents
- Assessing your home’s solar potential in San Antonio
- Understanding costs, incentives, and payback
- Planning, permissions, and dealing with HOAs
- Installation, maintenance, and maximizing performance
- What most guides miss: The real secrets to solar ROI in San Antonio
- Get started with expert solar solutions in San Antonio
- Frequently asked questions
Key Takeaways
| Point | Details |
|---|---|
| Solar reduces your energy bills | Most San Antonio homeowners can save thousands per year on electricity costs. |
| Tax credits lower installation cost | Federal incentives drop average home solar costs to around $23,000 in 2026. |
| Permits and HOAs are manageable | Texas law protects your right to install solar, with minor appearance restrictions. |
| Proper installation and upkeep matter | Professional installation and routine maintenance ensure your system delivers maximum savings. |
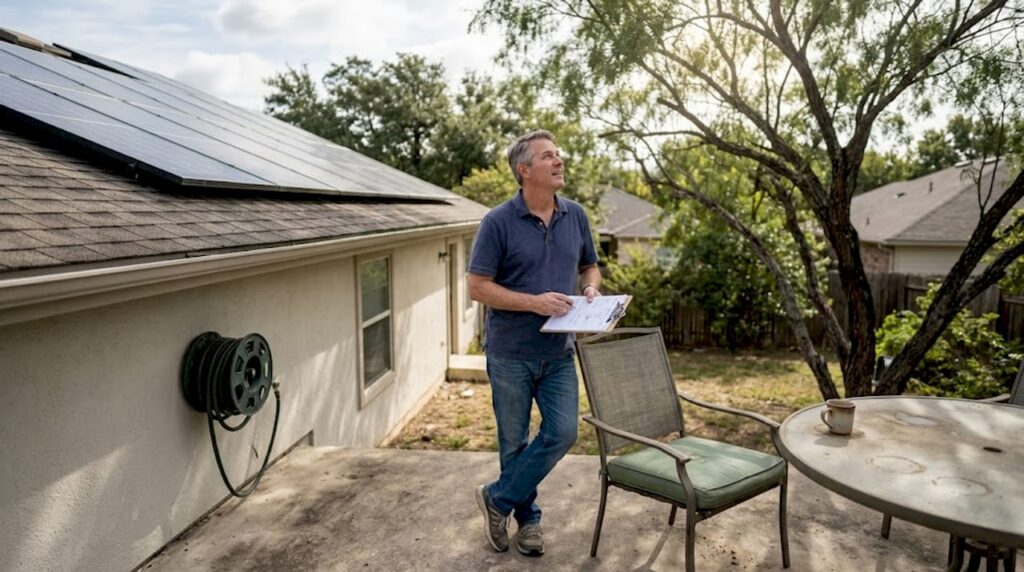
Assessing your home’s solar potential in San Antonio
Now that you know why solar can benefit your home, let’s see if your property is a good candidate. Not every home is equal when it comes to solar production, and a few physical factors can make a big difference in how much energy you generate.
Roof orientation and shading
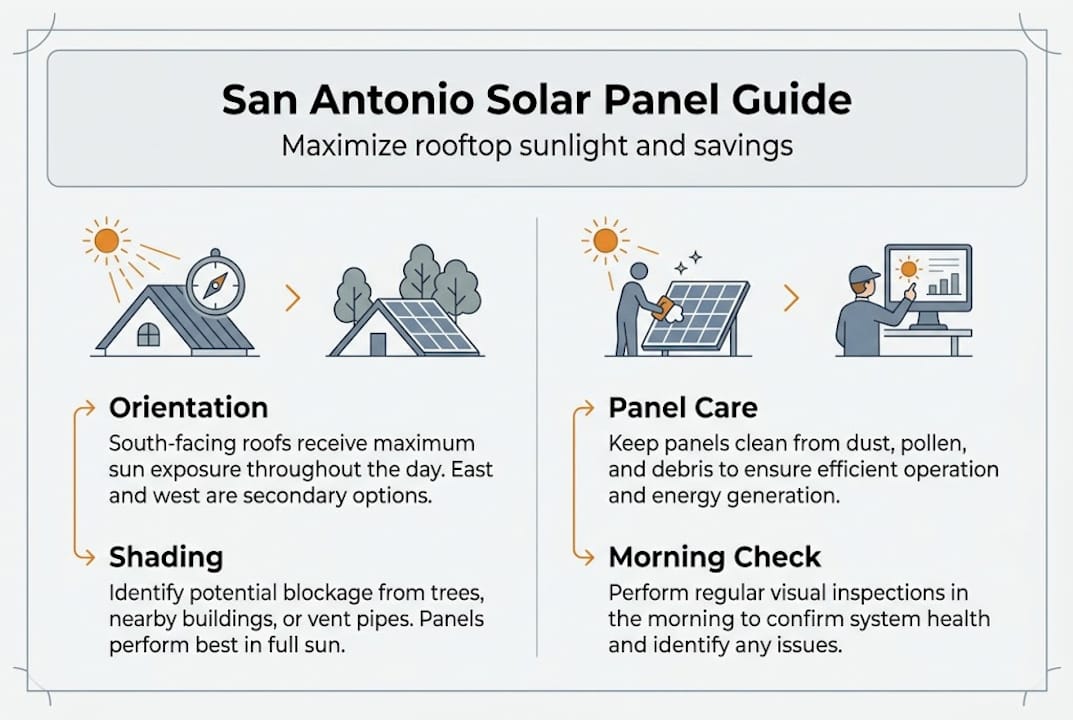
In San Antonio, south-facing roofs capture the most sunlight year-round. Southwest and southeast orientations still work well and can deliver strong production. The bigger concern is shade. Trees, chimneys, and neighboring buildings can block sunlight and cut your output significantly. A shaded panel drags down the performance of nearby panels too, so even partial shade matters.
How to check your roof’s suitability
Here are the key factors to look at before moving forward:
- Roof direction: South-facing is ideal; southwest and southeast are solid alternatives
- Shade exposure: Look at your roof at different times of day and across seasons
- Roof age and condition: Panels last 25 or more years, so your roof should have at least 10 to 15 years left
- Available space: Most homes need between 400 and 600 square feet of unshaded roof area for a full system
- Roof pitch: A pitch between 15 and 40 degrees works best for solar panel efficiency
Estimating your savings potential
The easiest starting point is your utility bill. Look at your average monthly kilowatt-hour (kWh) usage, which is the unit that measures how much electricity you use. San Antonio homes average around 1,200 to 1,400 kWh per month. A properly sized 11 kW system in this area produces enough to cover most or all of that, leading to $2,180 per year in savings with a payback period as short as 6.9 years.
Practicing good panel care also contributes to output. Cleaning solar panels regularly removes dust and pollen buildup that quietly reduces how much electricity your system generates.
Pro Tip: Walk around your property in the morning, at noon, and in the late afternoon on a sunny day. Note which parts of your roof stay in full sun versus which fall into shade. Seasonal changes matter too since winter sun angles are lower, so trees that don’t cast shade in summer might block panels in December.
| Roof factor | Ideal condition | Acceptable condition |
|---|---|---|
| Orientation | South-facing | Southwest or southeast |
| Shade | None | Minimal, less than 10% |
| Roof age | Under 10 years old | 10 to 15 years remaining |
| Pitch | 20 to 35 degrees | 15 to 40 degrees |
If your home checks most of these boxes, you’re likely in great shape to move forward. Maximizing solar ROI starts with getting the siting and sizing right from day one.
Understanding costs, incentives, and payback
If your home is a good fit for solar, the next step is understanding the financial investment and incentives. The upfront cost can feel large, but the incentives available in 2026 make the math genuinely favorable.
What does a system cost?
A standard 11 kW home solar system in San Antonio runs about $33,000 before incentives, or roughly $3 per watt. After applying the 30% federal Investment Tax Credit (ITC), which reduces what you owe in federal income taxes, that cost drops to around $23,000. Annual electricity savings range from $1,200 to $2,180 depending on your usage and rate plan.
| Cost stage | Amount |
|---|---|
| Gross system cost | $33,000 |
| Federal ITC (30%) | $9,900 credit |
| Net cost to homeowner | ~$23,000 |
| Annual savings range | $1,200 to $2,180 |
| Payback period | 6.9 to 10 years |
| 25-year savings potential | $30,000 to $79,000 |
Incentive programs to look into
Beyond the federal solar tax credit, there are other programs worth exploring:
- CPS Energy rebates: CPS Energy occasionally offers incentive programs for solar customers; check their site for current availability
- Property tax exemption: Texas exempts the added home value from solar from your property tax bill
- Net metering: CPS Energy credits you for excess power your panels send back to the grid
- Financing options: Many installers offer low-interest solar loans that let you start saving immediately
The solar incentives landscape can shift year to year, so it’s worth confirming current availability before you finalize your budget. For a deeper look at what the credit covers, the solar tax credit details are worth reviewing with your installer or tax advisor.
The 25-year financial picture is where solar really stands out. At $79,000 in potential savings, this is one of the few home upgrades that genuinely pays you back over time.
Planning, permissions, and dealing with HOAs
Once you’ve clarified financials, let’s make sure your solar project meets all local requirements. Permits and HOA rules can feel intimidating, but the process is manageable when you know what to expect.
Permits and local codes
San Antonio requires a building permit for solar panel installations. Your installer should handle the permit application, but you should know what’s involved. The city reviews plans for structural load, electrical safety, and code compliance before issuing approval.
Understanding your HOA rights
If you live in a community with a homeowners association (HOA), Texas law is on your side. Texas Property Code 202.010 prevents HOAs from banning solar panels outright. They can, however, set rules on aesthetics and placement, such as requiring panels to sit parallel to the roofline, stay below the roof peak, or match common color schemes.
There is one important protection you should know: if HOA restrictions would reduce your system’s energy output by more than 10%, they must allow you to place panels in an alternate location that doesn’t meet their visual preferences.
Texas HOAs cannot prohibit solar panel installation. They may regulate appearance and placement, but they cannot enforce rules that reduce solar production by more than 10%.
The permitting and HOA process step by step
- Confirm your HOA’s specific guidelines in writing before signing anything
- Work with your installer to design a system that meets HOA placement rules if applicable
- Submit your HOA application with system diagrams and specifications
- Apply for your city building permit, which your installer typically files on your behalf
- Schedule and pass the city inspection after installation is complete
- Receive utility interconnection approval from CPS Energy before turning the system on
Pro Tip: Bring your installer’s system layout to your HOA board meeting early in the process. Showing them the design upfront often speeds up approval and avoids back and forth later. Get any HOA approval in writing before installation begins. For guidance on efficient panel siting tips, check with your installer about positioning options that satisfy both performance and HOA requirements.
Installation, maintenance, and maximizing performance
With permissions secured, you’re ready for installation and getting the most out of your solar investment. Knowing what to expect during and after install helps you stay confident through the whole process.
Installation steps from start to finish
- Select your installer: Get at least two or three quotes; verify licensing, insurance, and local references
- System design review: Your installer finalizes panel placement, inverter type, and wiring layout for your specific roof
- Equipment delivery and roof prep: Mounting hardware goes up first; your roof is checked for any needed repairs
- Panel installation: Panels are mounted and wired; the inverter (which converts solar energy into usable household electricity) is installed
- City inspection: A local inspector confirms the system meets all electrical and structural codes
- Utility interconnection: CPS Energy connects your system to the grid so net metering can begin
- System activation: Your installer powers everything up, walks you through your monitoring app, and confirms production
Keeping your system at peak performance
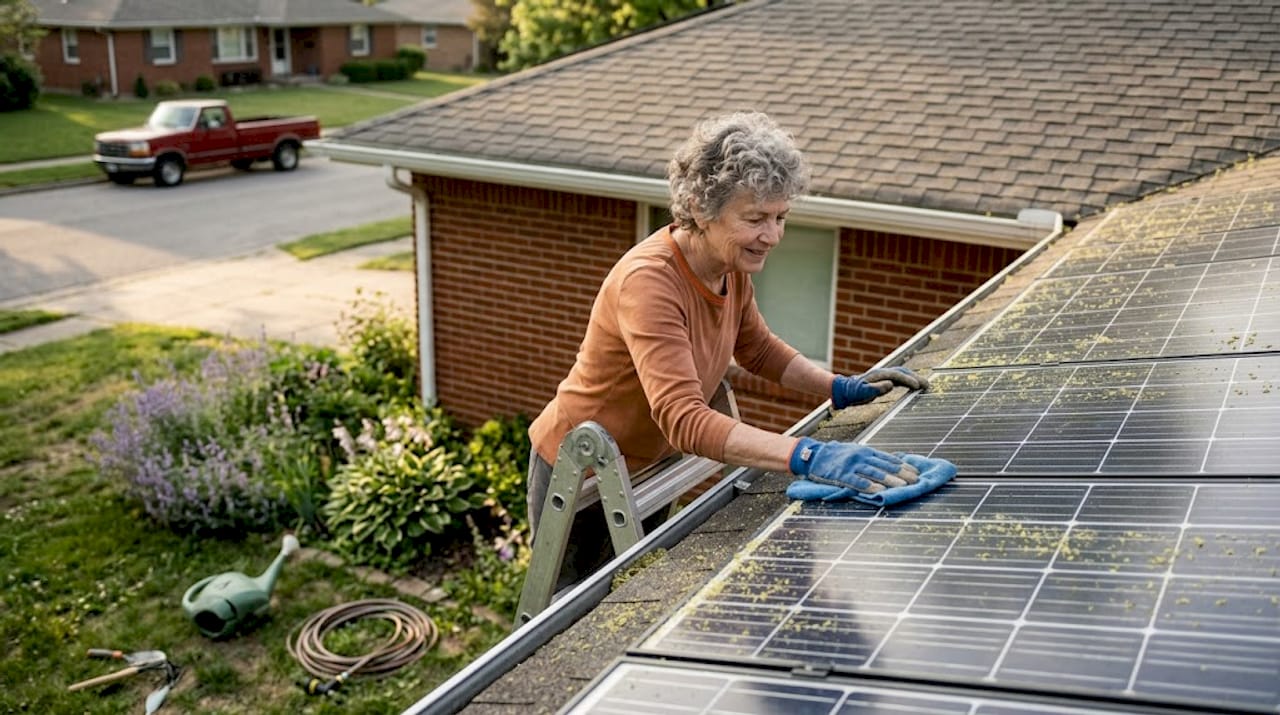
Solar panels are low maintenance, but not zero maintenance. Here’s what to stay on top of:
- Clean panels two to four times per year, especially after heavy pollen seasons or dust storms
- Monitor your system’s app monthly for any drop in production
- Schedule a professional system check annually to inspect wiring, mounting, and inverter function
- Trim trees that grow into your panel’s sun exposure over time
Pro Tip: Dirty panels can lose 5% to 25% of their output depending on conditions. In San Antonio, oak pollen and dust accumulate fast. Professional cleaning keeps your production numbers where they should be and protects your warranty.
The solar savings tips that matter most come down to consistency. Homes that monitor output and maintain clean panels see the highest long-term returns. With net metering in San Antonio, every kilowatt-hour your panels overproduce earns a credit on your next bill. That adds up over time. Combined with annual savings of $1,200 to $2,180, a well-maintained system is one of the most reliable financial moves a San Antonio homeowner can make. The Texas solar savings guide offers more detail on how to get the most from your system over its full lifespan.
What most guides miss: The real secrets to solar ROI in San Antonio
Now that you have a clear plan, here’s what you won’t hear in most solar guides, and why it matters.
Most homeowners focus almost entirely on the upfront price and the tax credit. Those numbers matter, but the gap between an average system and a well-optimized one can easily reach $15,000 or more over 25 years. The difference usually comes down to three things: installer experience, system design quality, and ongoing engagement after installation.
A local installer who knows San Antonio’s specific sun angles, CPS Energy’s net metering rules, and HOA approval patterns will design a better system than a national company working from satellite images. Panel placement decisions that look minor on paper can shift your annual output by hundreds of kilowatt-hours.
The second thing most guides skip is net metering engagement. Homeowners who actually monitor their production data and time discretionary energy use (like running dishwashers or EV chargers during peak sun hours) squeeze significantly more value out of the same panels.
Finally, maintenance isn’t optional if you want full maximize solar ROI insights. The homeowners who treat solar as a set-it-and-forget-it purchase are the ones who see degraded output by year five. Proactive care sustains strong production and protects your investment for the full 25-year warranty period.
Get started with expert solar solutions in San Antonio
If you’re ready to move from researching to acting, Alpha Solar Solutions is here to help you take that step with confidence.
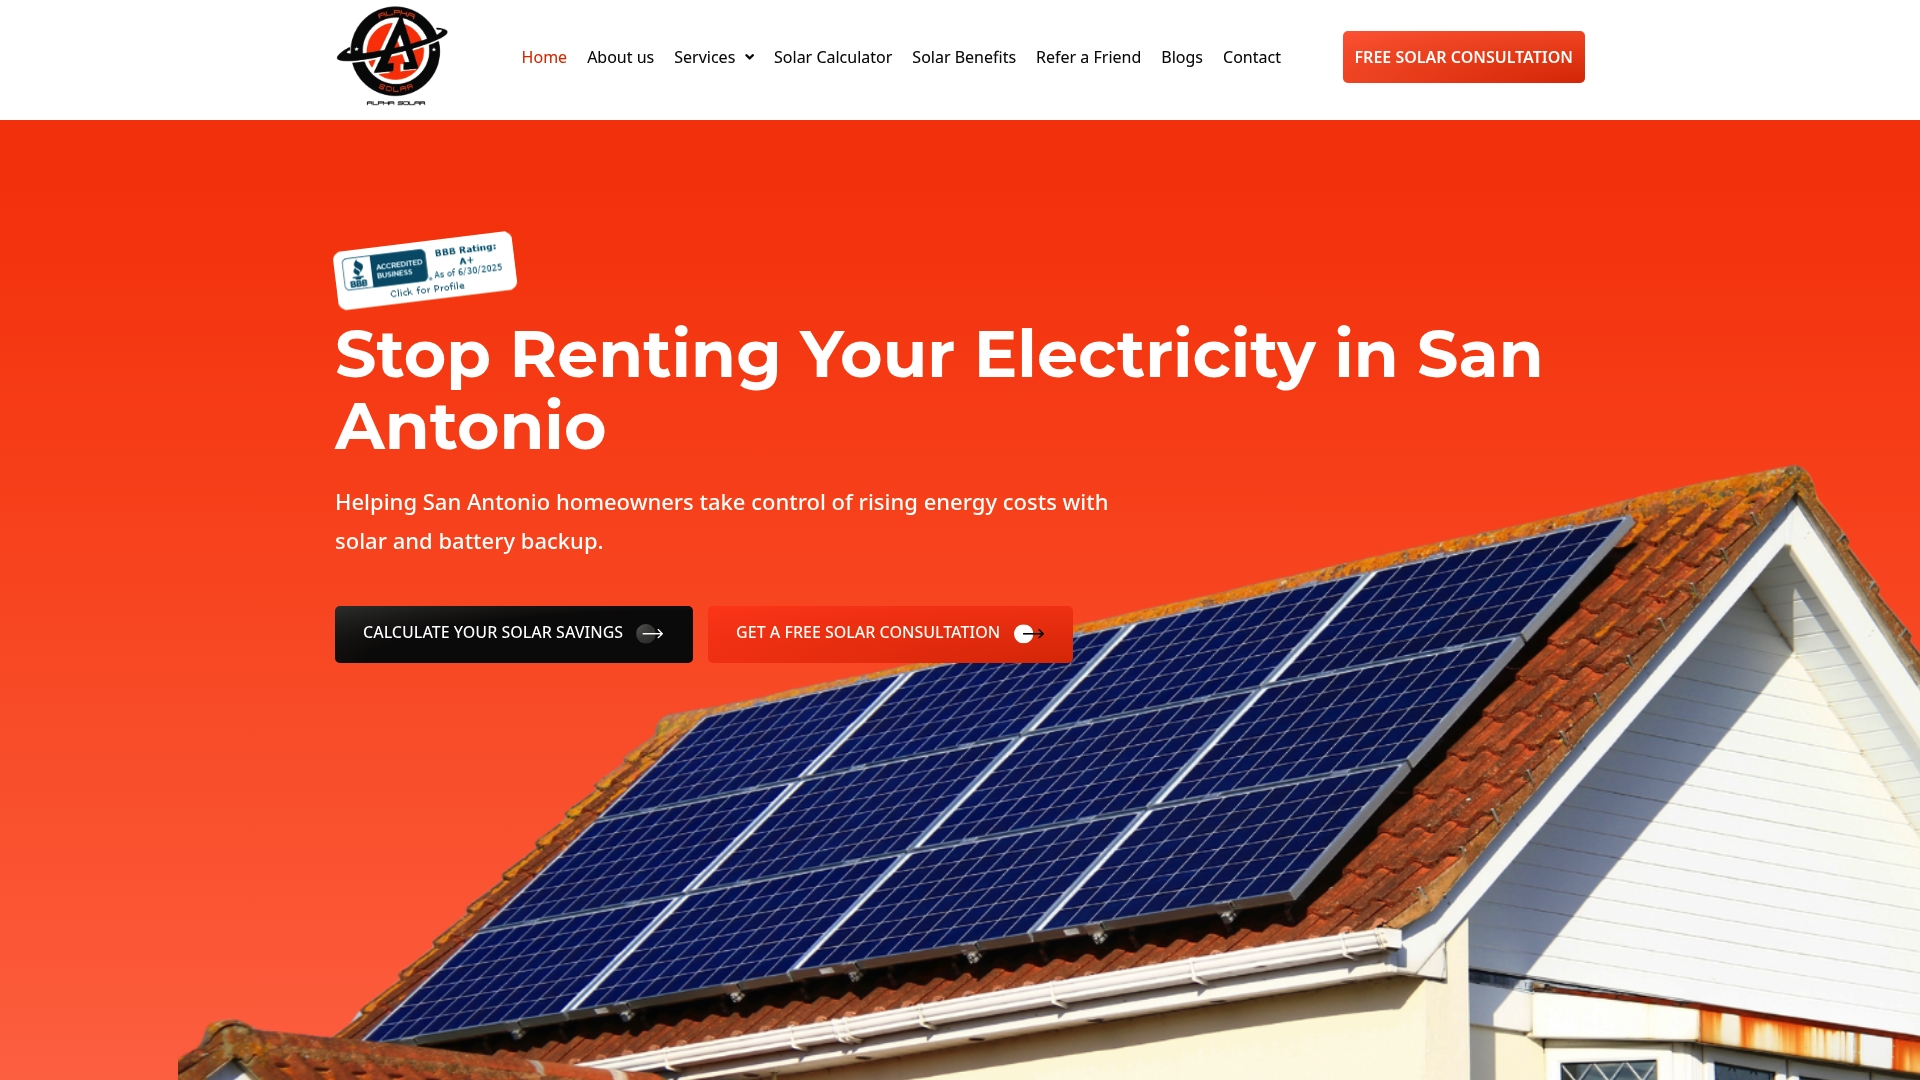
We specialize in residential solar installation designed specifically for San Antonio homes, including system design, permitting, HOA coordination, and utility interconnection. Our team stays current on local incentives so you don’t have to figure it out alone. We also offer professional panel cleaning to keep your system producing at full capacity year after year. Visit Alpha Solar Solutions to get your free estimate and see exactly what solar can do for your home and your monthly bill.
Frequently asked questions
How much does a typical home solar system cost in San Antonio in 2026?
A typical 11 kW system costs about $33,000 before tax credits and around $23,000 after the 30% federal Investment Tax Credit is applied.
Can my HOA stop me from installing solar panels?
No. Texas law prohibits HOAs from banning solar panels, though they can set reasonable rules on placement and appearance.
How long is the payback period for home solar in San Antonio?
Most San Antonio homeowners reach full payback in 7 to 10 years, with some seeing it in as few as 6.9 years depending on system size and energy use.
What maintenance does a home solar system need?
Solar panels need cleaning two to four times per year and an annual professional system inspection to maintain peak output and protect your equipment warranty.
What are the long-term financial benefits of solar panels?
San Antonio homeowners can save between $30,000 and $79,000 over 25 years through reduced electricity bills, net metering credits, and available tax incentives.